


")


Working together in Figma can feel magical—until your files get messy, layers go unnamed, and components scatter across pages. A well-organized structure is the difference between chaos and clarity. In this guide, we’ll walk through best practices so your team can stay aligned, work faster, and avoid confusion.
Why a Solid File Structure Is Crucial
When your team shares a design file, things can spiral out of control quickly. Without some organization:
Designers waste time hunting for artboards or instances
Developers struggle to locate the right components
Versions get out of sync, and old designs sneak back in
A thoughtful structure saves time, reduces errors, and ensures everyone—even newcomers—can jump in without getting lost.
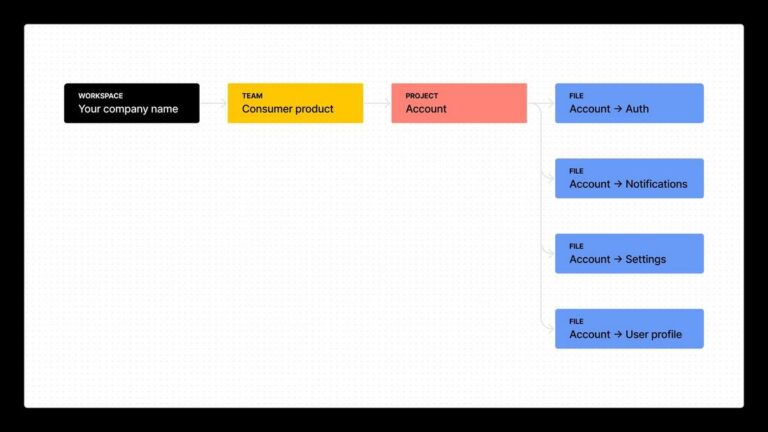
1. Begin with a Project-Level Folder Hierarchy
Before opening Figma, plan the folder layout where your files (and project assets) will live:
Design System (shared components, tokens, styles)
UI Kits (reusable modules or patterns)
Feature Files (ongoing work on specific screens or flows)
Research & Wireframes (user journeys, sketches, early concepts)
Prototypes & Tests (interactive mockups, usability tests)
This structure gives clarity at a glance and helps new team members orient themselves fast.
2. Enforce Consistent Naming Conventions
Using a consistent naming scheme makes it much easier to scan and search:
File Names – include project code, file purpose, and version (e.g. “ProjectX – DS v1”, “ProjectX – Checkout Flow v2”)
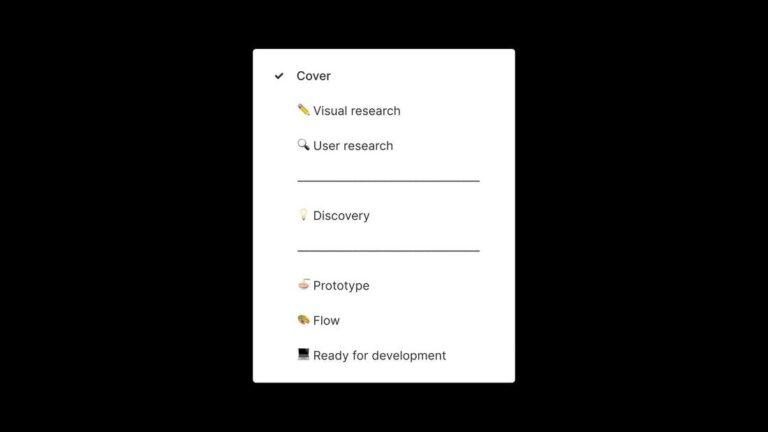
Pages within Files – use prefixes so they stay sorted:
00_Cover01_Tokens02_Components03_Screens99_Archive
(Some teams like emojis, but clarity and predictability matter more.)
3. Build a Central Source-of-Truth Design System File
One master file should house your design system:
Tokens: colors, typography, spacing
Atomic components: buttons, inputs, icons
Usage guidelines and documentation
Publish it as a Team Library so any update flows across files. That way, your system stays consistent across every screen.
4. Organize Components & Variants Thoughtfully
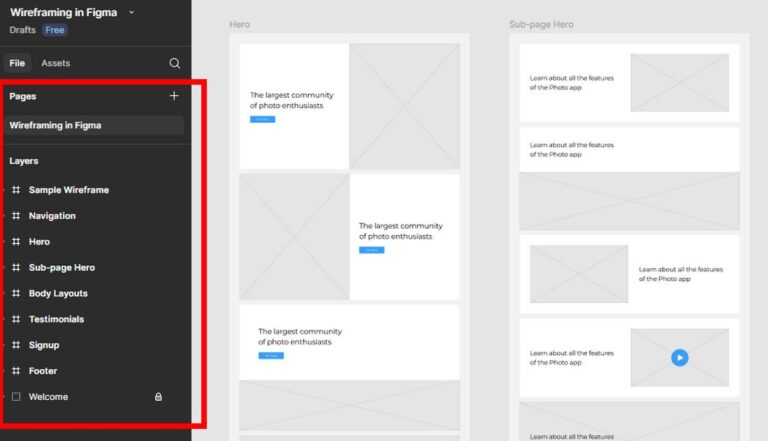
Inside your “Components” page, group assets by type and state:
Buttons → Primary / Secondary / Disabled
Form Fields → Default / Focus / Error
Icons → Navigation / Action / Status
Use variants instead of separate frames whenever possible. This keeps the Asset panel tidy and lets designers switch states via dropdowns.
5. Leverage Styles for Typography & Color
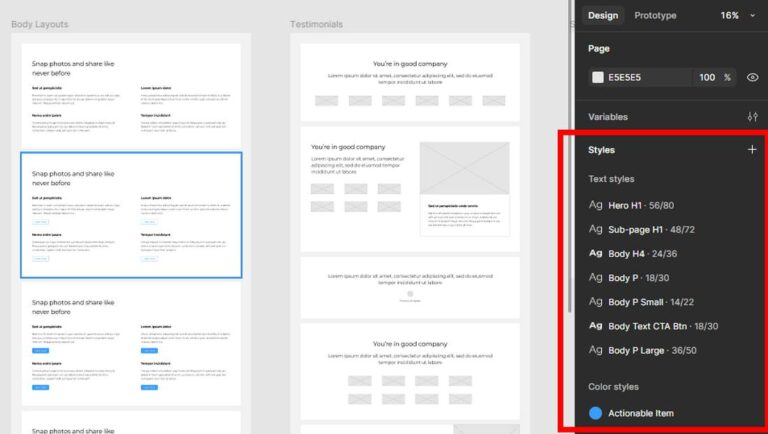
Define Text Styles (H1, H2, Body, Caption) and Color Styles (Primary, Background, Error) in your design system file.
When used consistently, a change to a Text or Color Style propagates across all designs automatically—no manual fixes needed.
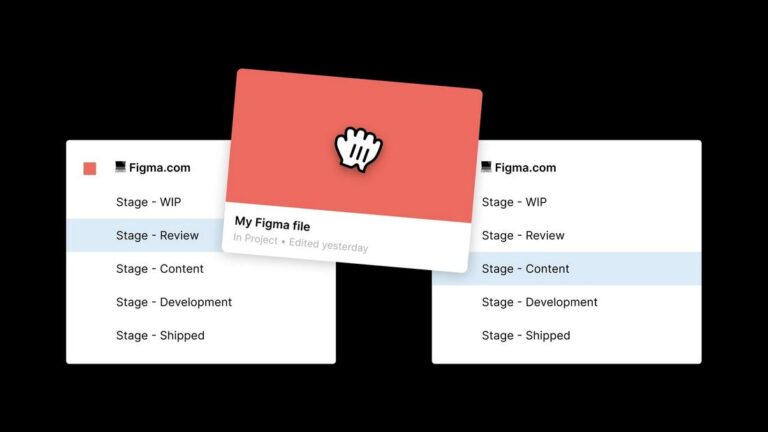
6. Separate Work-in-Progress from Final Designs
In your feature files, split pages by stage:
Drafts– where ideas and experiments liveFinal– production-ready screensHandoff– slices, notes, developer instructions
When a design is approved, duplicate it into Final rather than replacing the draft. That way, history lives on without confusion.
7. Document Decisions & Add Context
Don’t assume everyone knows why you picked that shade of blue or layout variant. Use sticky notes or text blocks to:
Link to user research or Jira tickets
Explain design choices or constraints
Provide context for edge cases
Your future teammates (and even your future self) will thank you.
8. Use Versions Smartly
Figma’s version history is powerful. Create named checkpoints at key milestones:
“Initial Design – Oct 5”
“Feedback Round 1 – Oct 12”
“Final UI – Oct 20”
This keeps your canvas lean and gives you a fallback if you need to revert.
9. Manage Permissions with Care
Set roles so that each stakeholder has the appropriate level of access:
Admins: full edit and publish rights
Designers: edit & manage components
Stakeholders / Reviewers: view or comment only
Developers: view plus handoff access
This prevents accidental edits and keeps work flowing smoothly.
10. Schedule Regular Clean-Ups
Once a month—or per sprint—run an audit:
Delete unused components
Merge duplicate styles
Archive or remove outdated files
A tidy workspace is a productive workspace.
Final Thoughts
When you treat your Figma environment like a shared, living ecosystem—not just a canvas to dump work—your team collaboration transforms. A consistent, clean structure lets design flow instead of fighting chaos.
Start today by organizing your files, enforcing naming standards, and dedicating a single design system file. The benefits stack fast: less waste, faster handoffs, clearer communication.
Discover more from DesignRise
Subscribe to get the latest posts sent to your email.


